StitchingTogether

My Photo
Name:
Location: Amersfoort, Netherlands

I am a 40-something housewife that loves to make my home a cheerful place for my husband and myself. I love working each day on my handwork and inspiring others to unlock their creative muses. I have a blog where I write about my handwork and one in which I write about the changing seasons and things around my home and garden. Please stop by and visit me. While there, don't forget to leave a comment. I love hearing from you!

Wednesday, November 15, 2006

Step Seven


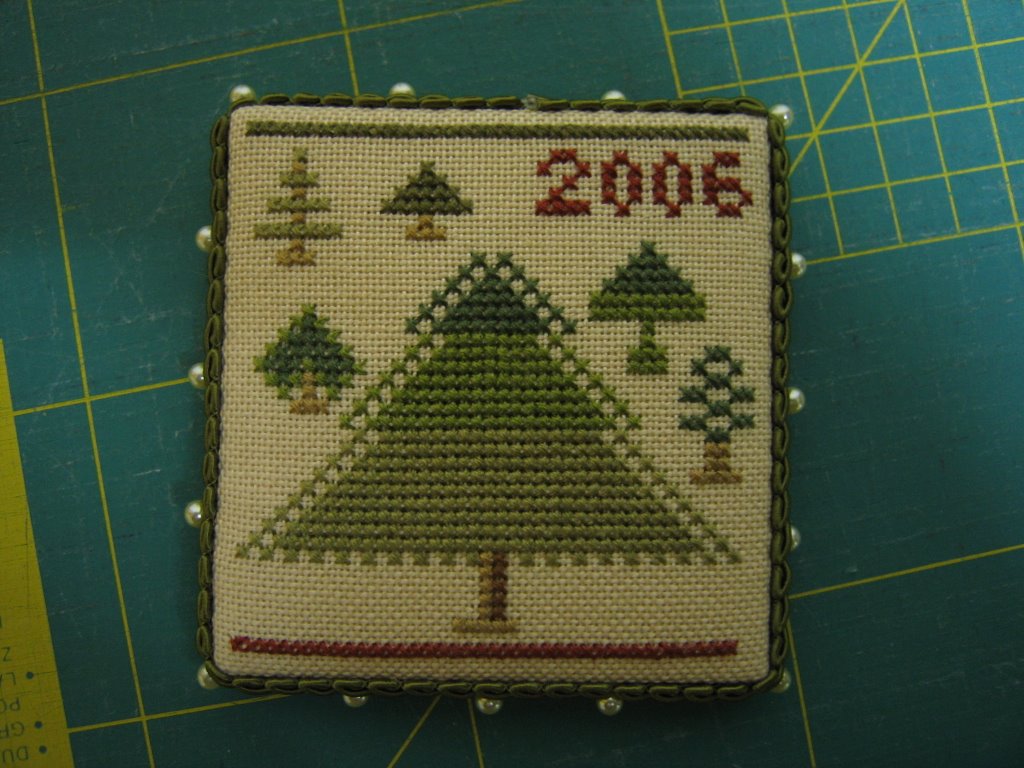
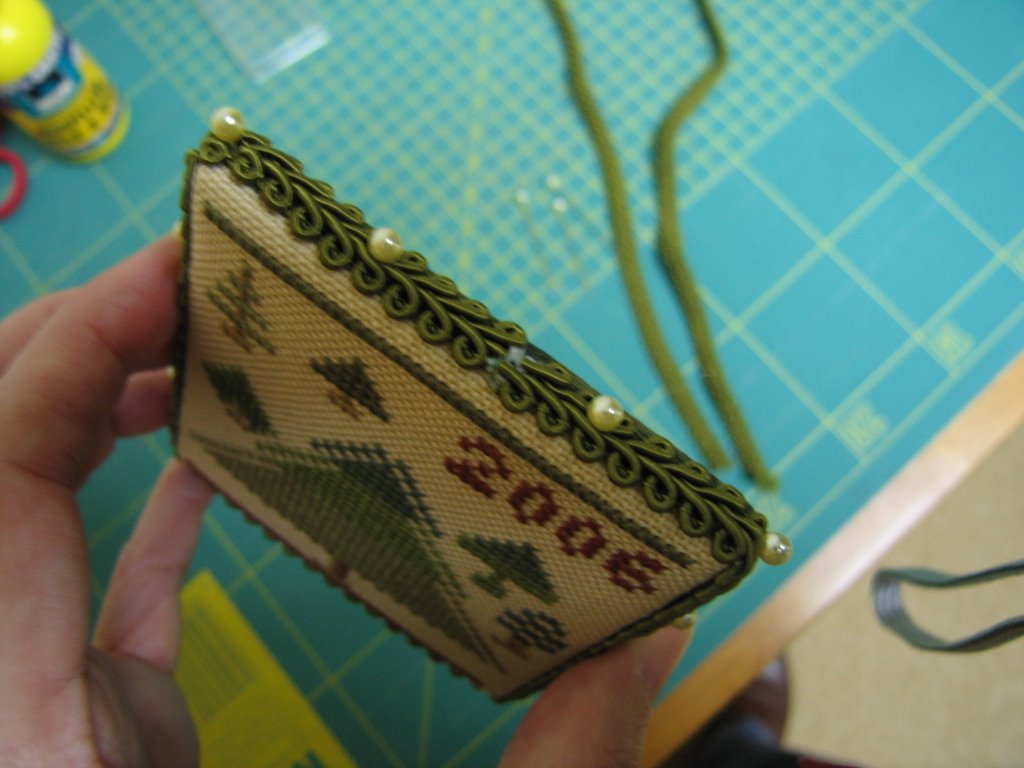
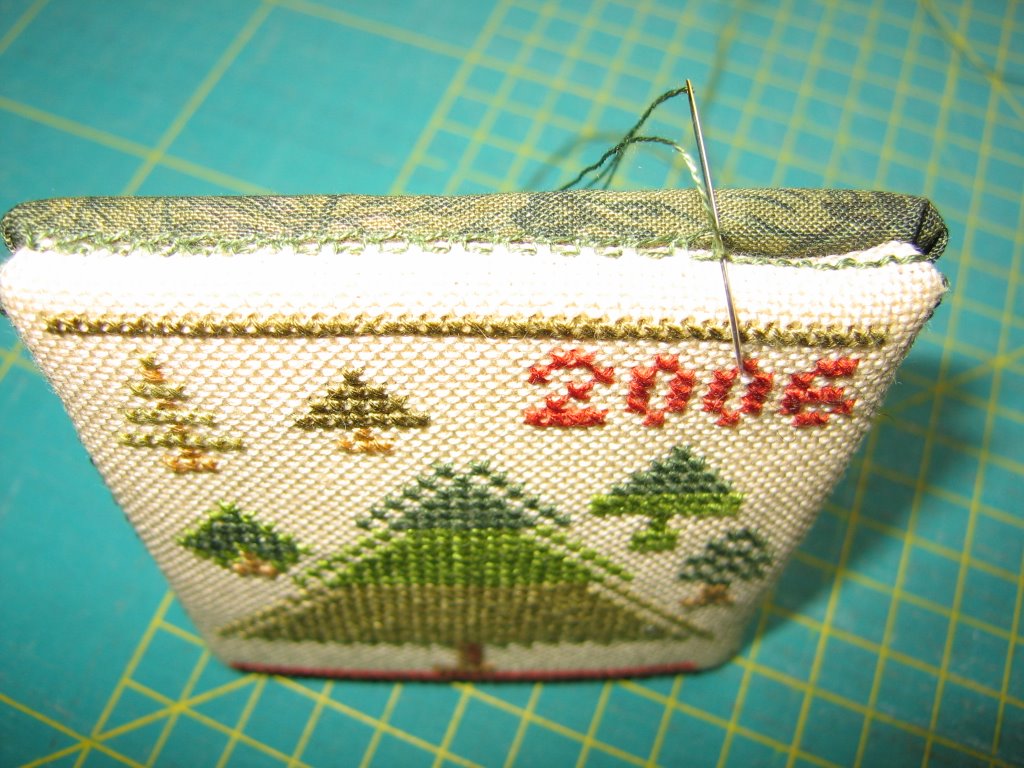
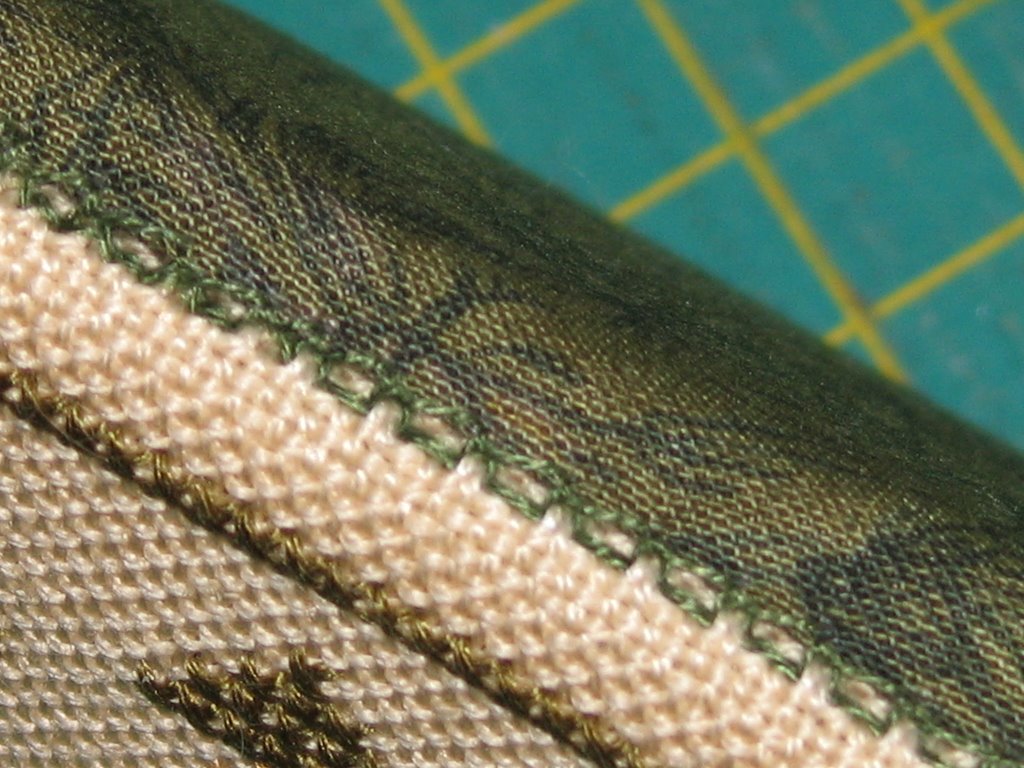
If making a loose bow, simply make a bow with ribbon (s) as desired and pin into place. I placed a glass pin in the top of the bow and use to flat headed regular pins in the bow to secure it. These pins fall in the bow itself and are not visible. Here are photos of the finished pinkeep from the front and back.

Also shown, 'Boo Pumpkin' front and back photo with cord.

Step Six


Once the piece is totally sewn you can decorate this by stitching on the cord or ribbon. This should be done with a couching stitch. This will also hide all the whipstitching giving a nicely finished look.

If using ribbon or a flat trim, sewing in place is not necessary. Simply pin it in place with your glass pins. If you want a bow or loop with the cord, you must plan the length needed for it as you stitch the cording in place. Be sure to secure the end of the trim if needed by placing a drop of glue on the start and finish to ensure it does not ravel. Wait for the glue to dry before pinning.

Start pinning by placing the first pin in the corner (allow the trim to start exactly in the upper center which will be hidden by a bow later). The second pin is placed in the center of the side than a third on the next corner and you continue this around the pinkeep.

Couching stitch diagram:
http://www.medievalwardrobe.com/item/48

Once you have pinned around the pinkeep, go back and place a pin between the corner and center pin all the way around the pinkeep. See photo above for placement. Cut the trim to size and place a drop of glue to the end once again and press in place. This should be given time to dry. If using ribbon, you can simply allow the edges to overlap by a fraction and it will be ready for the next stop. There is no need to glue.

If using cord, once you have couch stitch this in place, your cord will be then tied into a small bow which can then be unraveled slightly to give the look of a tassel. For cording, no glueing is necessary.

Step Five


Place the two pieces with the basted or glued sides together. Now start to whipstitch the two pieces together with ‘DMC’ thread. You will only need a single strand and be sure the knot falls between the two layers. Use every other backstitch to catch the whipstitch. (You may wish to use every backstitch which is okay as either way works fine.) If your backing is from fabric you simply whipstitch in the fabric. This stitching will disappear under your cord, trim or ribbon.

Step Four


Glue or baste (use regular sewing thread) the stitching and backing to the matting board. If you are using a square be sure to carefully mitre the corners. If you use a circle or heart shape, carefully fold (or carefully cut if necessary) small darts in the linen and shape it around the board as you glue. If you decide to glue the piece, allow the glue to dry well before going on to sew the pinkeep. If you baste, it will not be seen once the pinkeep is sewn so the size of stitches and color of thread is not important. See the above photos for a mitre corner and basting the piece. While basting you are stitching very slightly and carefully into the batting. The fabric or linen should be taut on the front side of the board. You can pin into the sides of the matting board as done with lacing if you need to in order to hold the linen or fabric taut. Remove the pins after the piece is basted.

Step Three


Glue the batting which is cut to the same size and shape to the matting board. Allow this to dry. Turn over the matting board and glue a second piece. Both sides of the matting are covered with quilt batting.

(Option for use of aida cloth is to only use batting on the inside of the matting board. The two pieces of batting will them be against each other on the inside of the pinkeep. I find aida cloth works well just as well without batting.)

Step Two


Measure your piece with the backstitching. Cut two pieces of matting board to just a bit smaller than where you backstitched. Your matting board whether a square, circle, heart or hexagon shape should all fit just inside the backstitching when the board is cut to shape.

Step One

Backstitch a continuous line around the edge of the shape of the stitched piece you will make into the pinkeep. This will determine the finished size so carefully plan where the backstitches where you would like you stitches to be made. Try to match the (DMC) thread you are using to the trim you have chosen. This will ensure that the stitching won’t be visible once the pinkeep is finished.

In the sample piece, I have chosen to backstitch 6 threads or 3 stitches from the finished stitching. Your stitched piece will largely determine the size of course. If you want to use a stitched piece for the back also, backstitch this in the same way being careful that both pieces are the same size when backstitched. Fabric backing will not need stitched.

Iron the piece and trim to ¾-inch from the backstitching. Cut fabric backing to the same size.

Pinkeep SAL instructions


Here are instructions on how I make a pinkeep. You need the following:

Stitched piece for front of pinkeep

Fabric or stitched piece for back of pinkeep

Matting board

Quilt batting

Craft glue

Thread (you will need DMC thread in a color matching your stitched piece and sewing thread)

Decorative glass head pins (amount needed is based on the size of your own pinkeep)

Cord, ribbon or any trim complimenting your stitched piece
(Please note that if you want to keep it simple for your first pinkeep, use a simple small satin ribbon. Ribbon unlike the cord or trim does not have to be sewn in place.)

A 'sister' site to my original blog

This new blog is being started for those participating in any of the SALs I lead. It is a place for members to come and see any instructions I have given out and for us to post our photos of the results. It is very inspiring to see what each other create. It stimulates us each to new and exciting ideas of our own.